Product Information, Trending Events | Thursday June 10th, 2021 09:10 AM
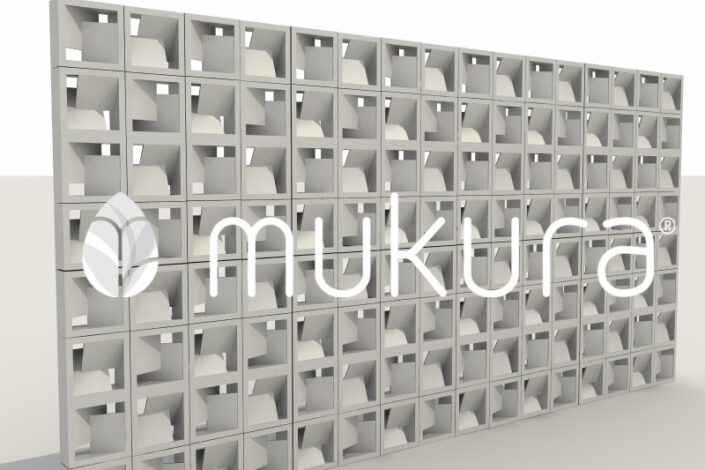
Breezeblock Care 101
Installing breezeblocks or ventilation blocks makes our house more aesthetic, and have better ventilation as well as lighting. However, using breezeblock also means taking care of it in the long run. Especially if using breezeblock in outdoor settings. Don’t worry, today we’re here to help you learn about it.
Risks of breezeblocks
Before we get into how to care for our breezeblock, first we must know what the risks are.
- Outdoor breezeblocks are more vulnerable to harsh sunlight and rainwater. Because of that, molds can grow on the surface.
- Besides mold, direct sunlight and rain can also cause corrosion.
- On wooden breezeblock, the material is prone to termite infestation.
- Mortar holding breezeblocks together can also experience loss overtime.
- Water sediment on certain parts of breezeblock can cause damage. Because breezeblock have holes, rainwater can stay in the edges of them.
- Breezeblock color can also fade away.

Facade or exterior made of breezeblock are more prone to damage. (Source: Mukura Ceramics Instagram)
These risks, of course, vary among the types and installation techniques of breezeblock. For example, indoor breezeblock have a lower risk of damage. Another example is granite breezeblock, which have a glossy finishing that protects itself from molds and corrosion. On the other hand, the color of concrete breezeblock takes much longer to fade away.
Breezeblock care
After we know about the risks, what should we do next? Here are some steps to care for your breezeblock.
- Clean the surface of breezeblock off with a cloth or broom. This is to remove dust from the surface. Unfortunately, this method is only effective for granite breezeblock. This is because of the glossy finishing of granite breezeblock, so the dust only exist on the surface.
- Cleaning with water. This is done to clean dust that sticks to the breezeblock. This problem exist on porous breezeblock (the ones not having glossy surface). Therefore, spraying water can remove some of the sticking dust.
- Use waterproof paint. This paint can protect breezeblock from damage caused by rainwater. If you want the original color, choose a clear one.
- Apply termiticide. This one is exclusive for wooden breezeblock.
- Recoat breezeblock one a year. This is to prevent damage because of water sediment.
- Check and add mortar in between breezeblocks. This is to avoid mortar loss, which can cause damage to the whole structure.
- Repaint breezeblock. If the color fade away, you can repaint the breezeblock to bring back the bright color.
Complicated? Maybe. But don’t worry! Most of those treatments are necessary for breezeblocks other than the granite ones. Because of the material and technique, granite breezeblock is stronger and more resilient. Besides, coating isn’t necessary because the glossy finish of it gives extra protection. On top of that, cleaning granit breezeblock is easier: just wipe it off. Most importantly, Mukura is always ready to help your breezeblock stay stronger and last longer!